Mastering Lighting: Techniques for Cinematic Video Production
Lighting is one of the most powerful tools in filmmaking. It defines atmosphere, shapes emotion, and guides how viewers interpret a story. For businesses and brands across Glasgow and Scotland, understanding how to use light purposefully can transform a video from ordinary to cinematic, adding depth, clarity, and authenticity.
Introduction
Great lighting isn’t just about visibility; it’s about storytelling. Every highlight, shadow, and colour tone communicates mood and meaning. Whether you’re producing a corporate interview, a brand film, or social media content, lighting determines how professional and emotionally engaging your video feels.
At Reverie Films, we approach lighting design with intention. From natural sunlight to LED panels, every choice supports narrative and tone. We combine technical precision with artistic instinct to ensure every frame looks deliberate, consistent, and alive. For those seeking professional video production across Glasgow and Scotland, mastering light is the first step toward cinematic storytelling.
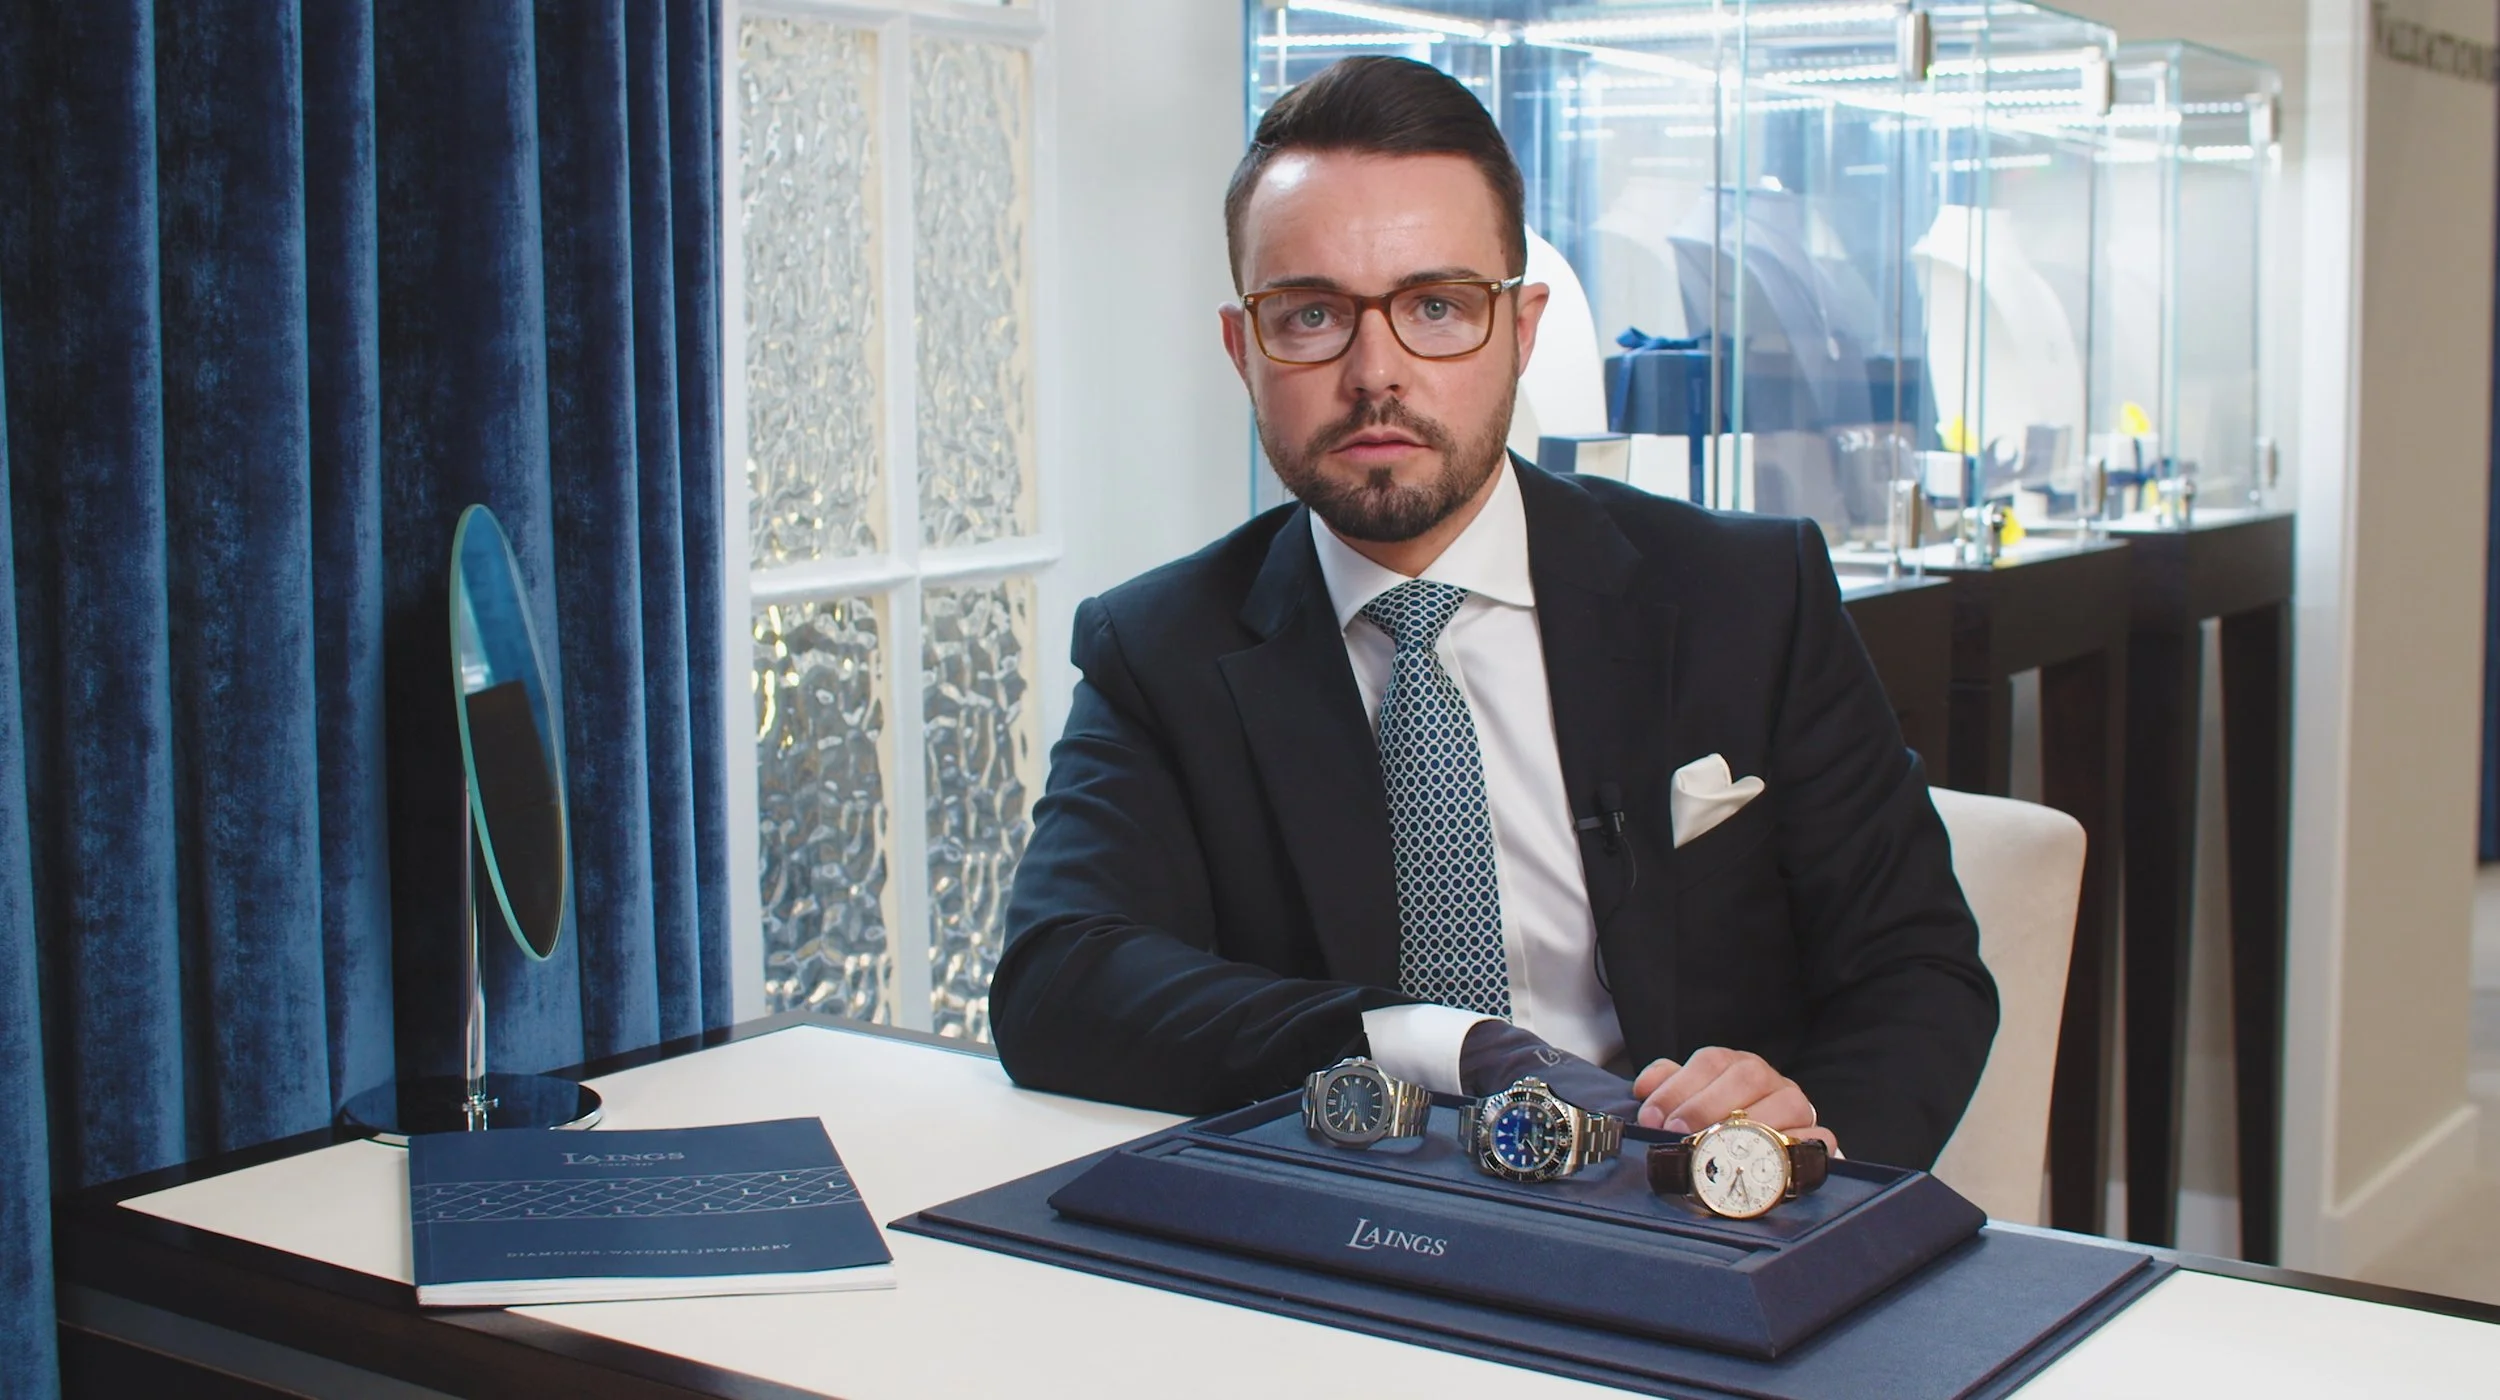
Three-Point Lighting: The Cinematic Foundation
Three-point lighting is the cornerstone of cinematic setup, a trusted framework for shaping dimension and focus. It uses three elements: the key light, fill light, and back light. Together, they define depth, control shadows, and create a professional, balanced image.
The key light establishes the primary source and direction of light, sculpting the subject’s shape. The fill light softens contrast, revealing subtle details and skin tones. The back light separates the subject from the background, creating that polished, three-dimensional “cinema look.”
Modern LED technology allows flexibility on any shoot, from small office setups to large-scale brand films. Consistent three-point lighting ensures a scene feels intentional, structured, and visually rich, essential for professional storytelling in business video production.
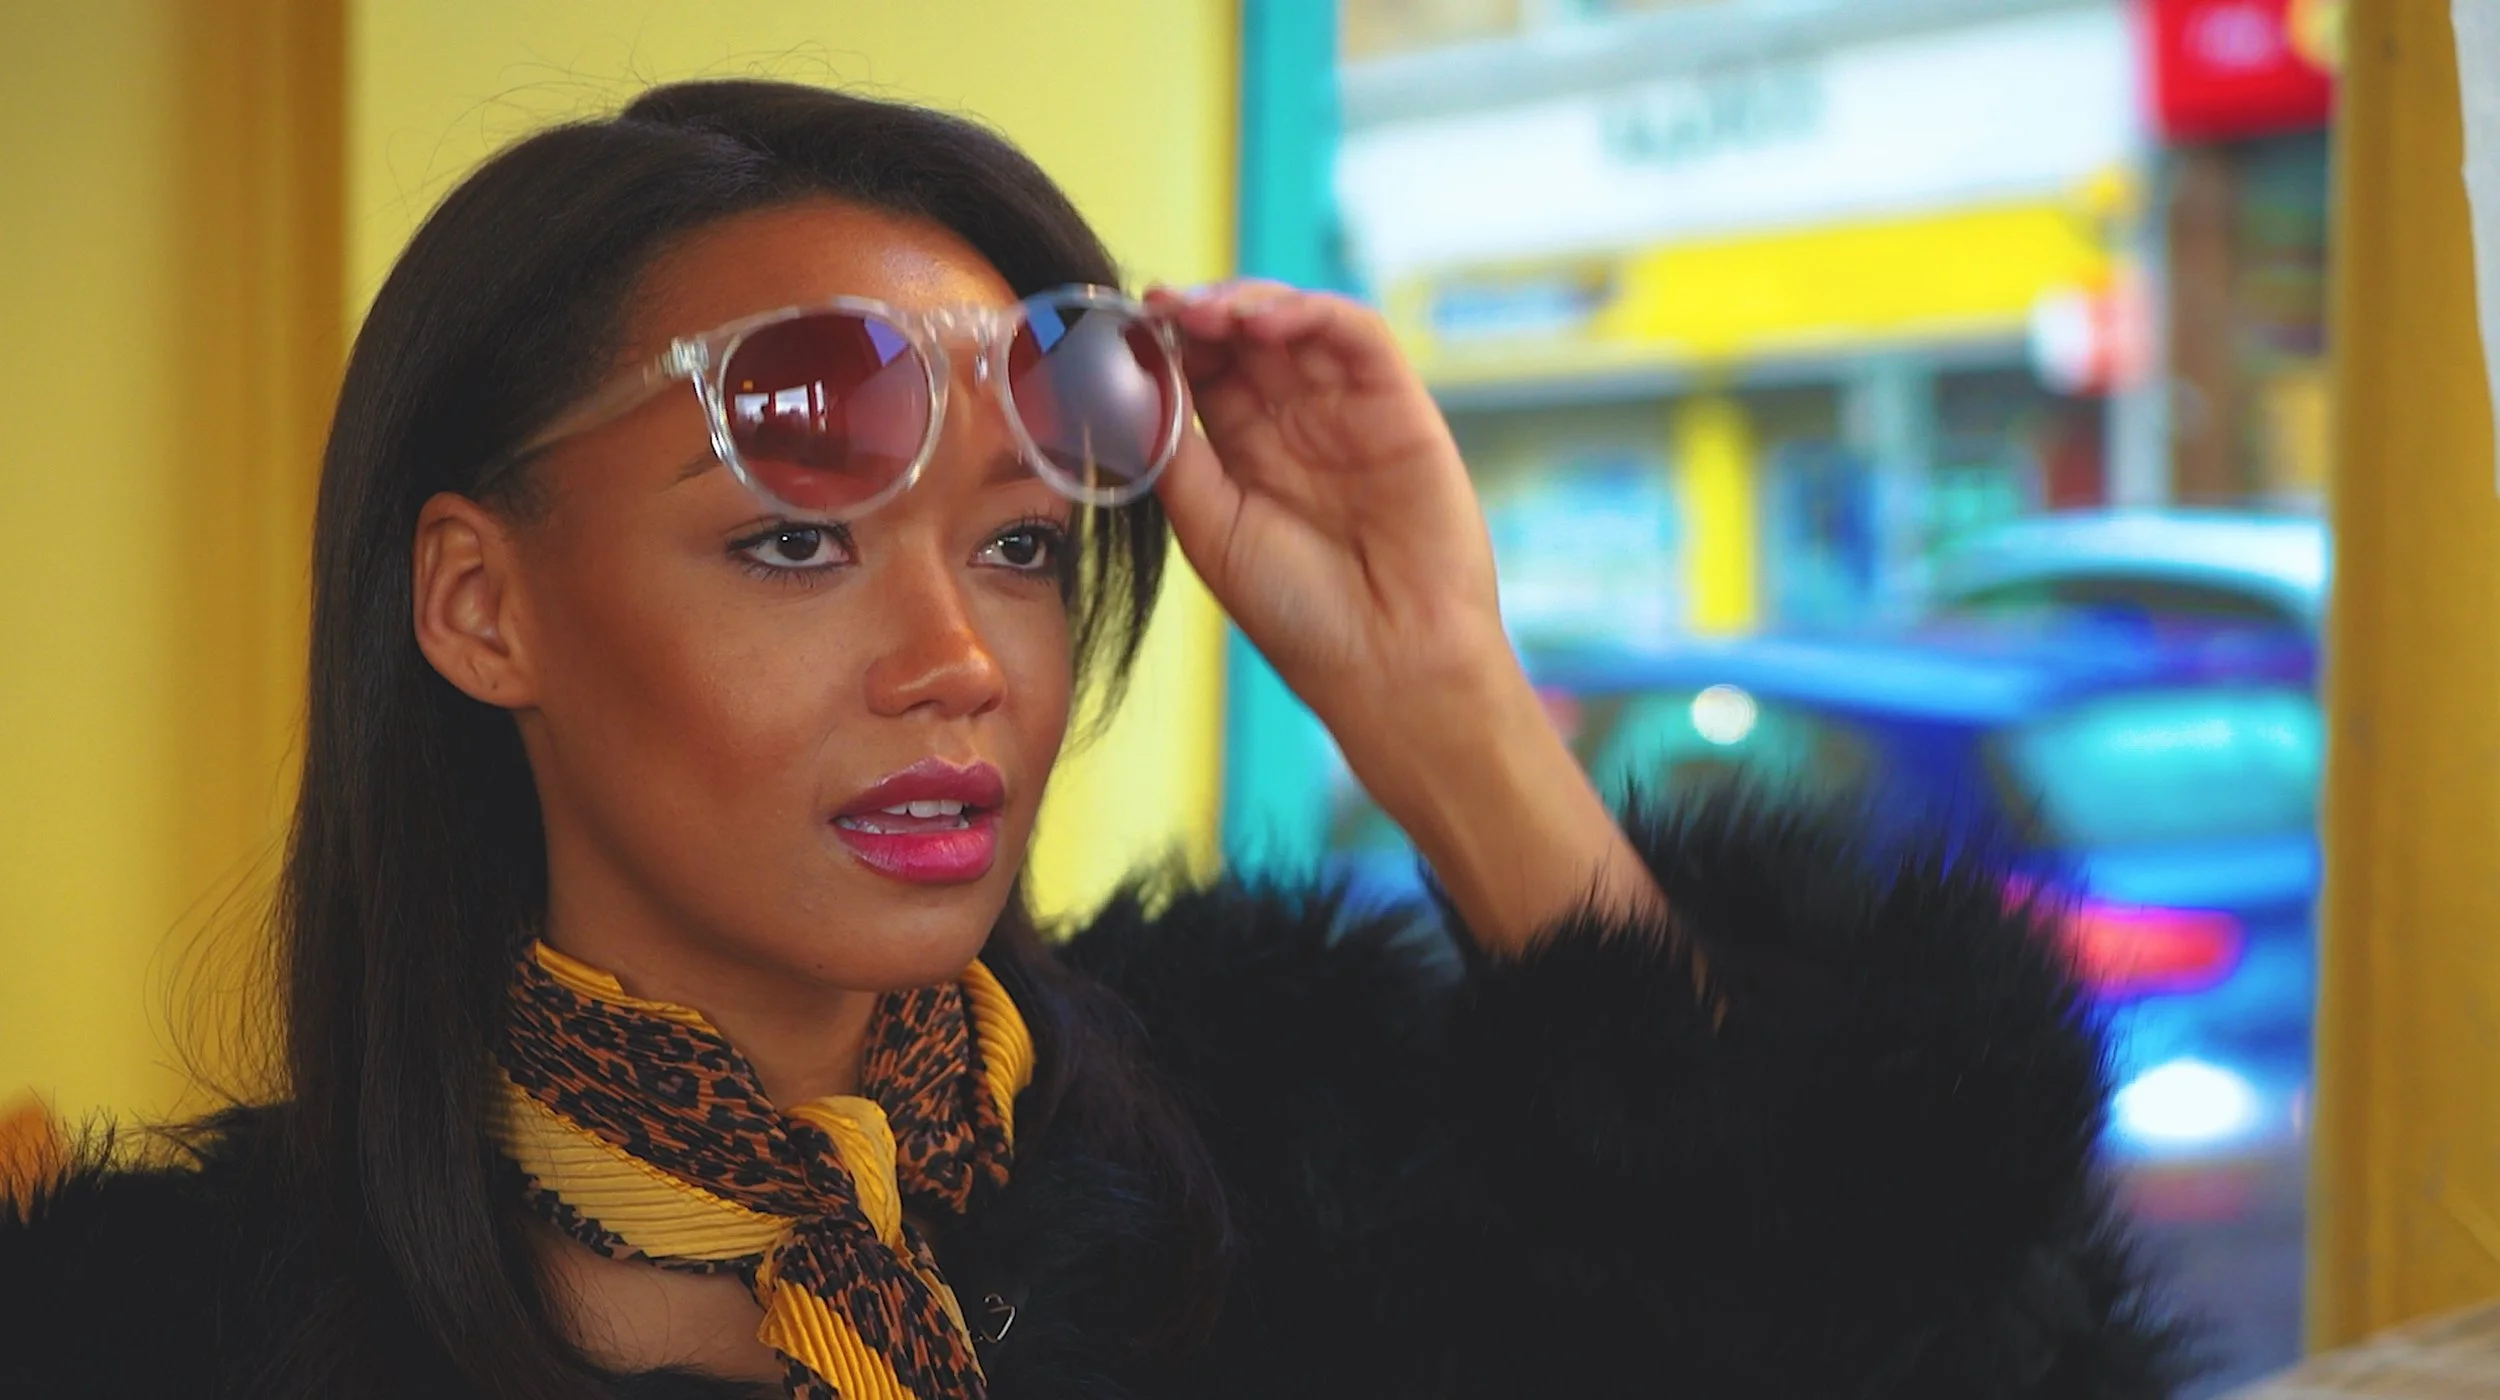
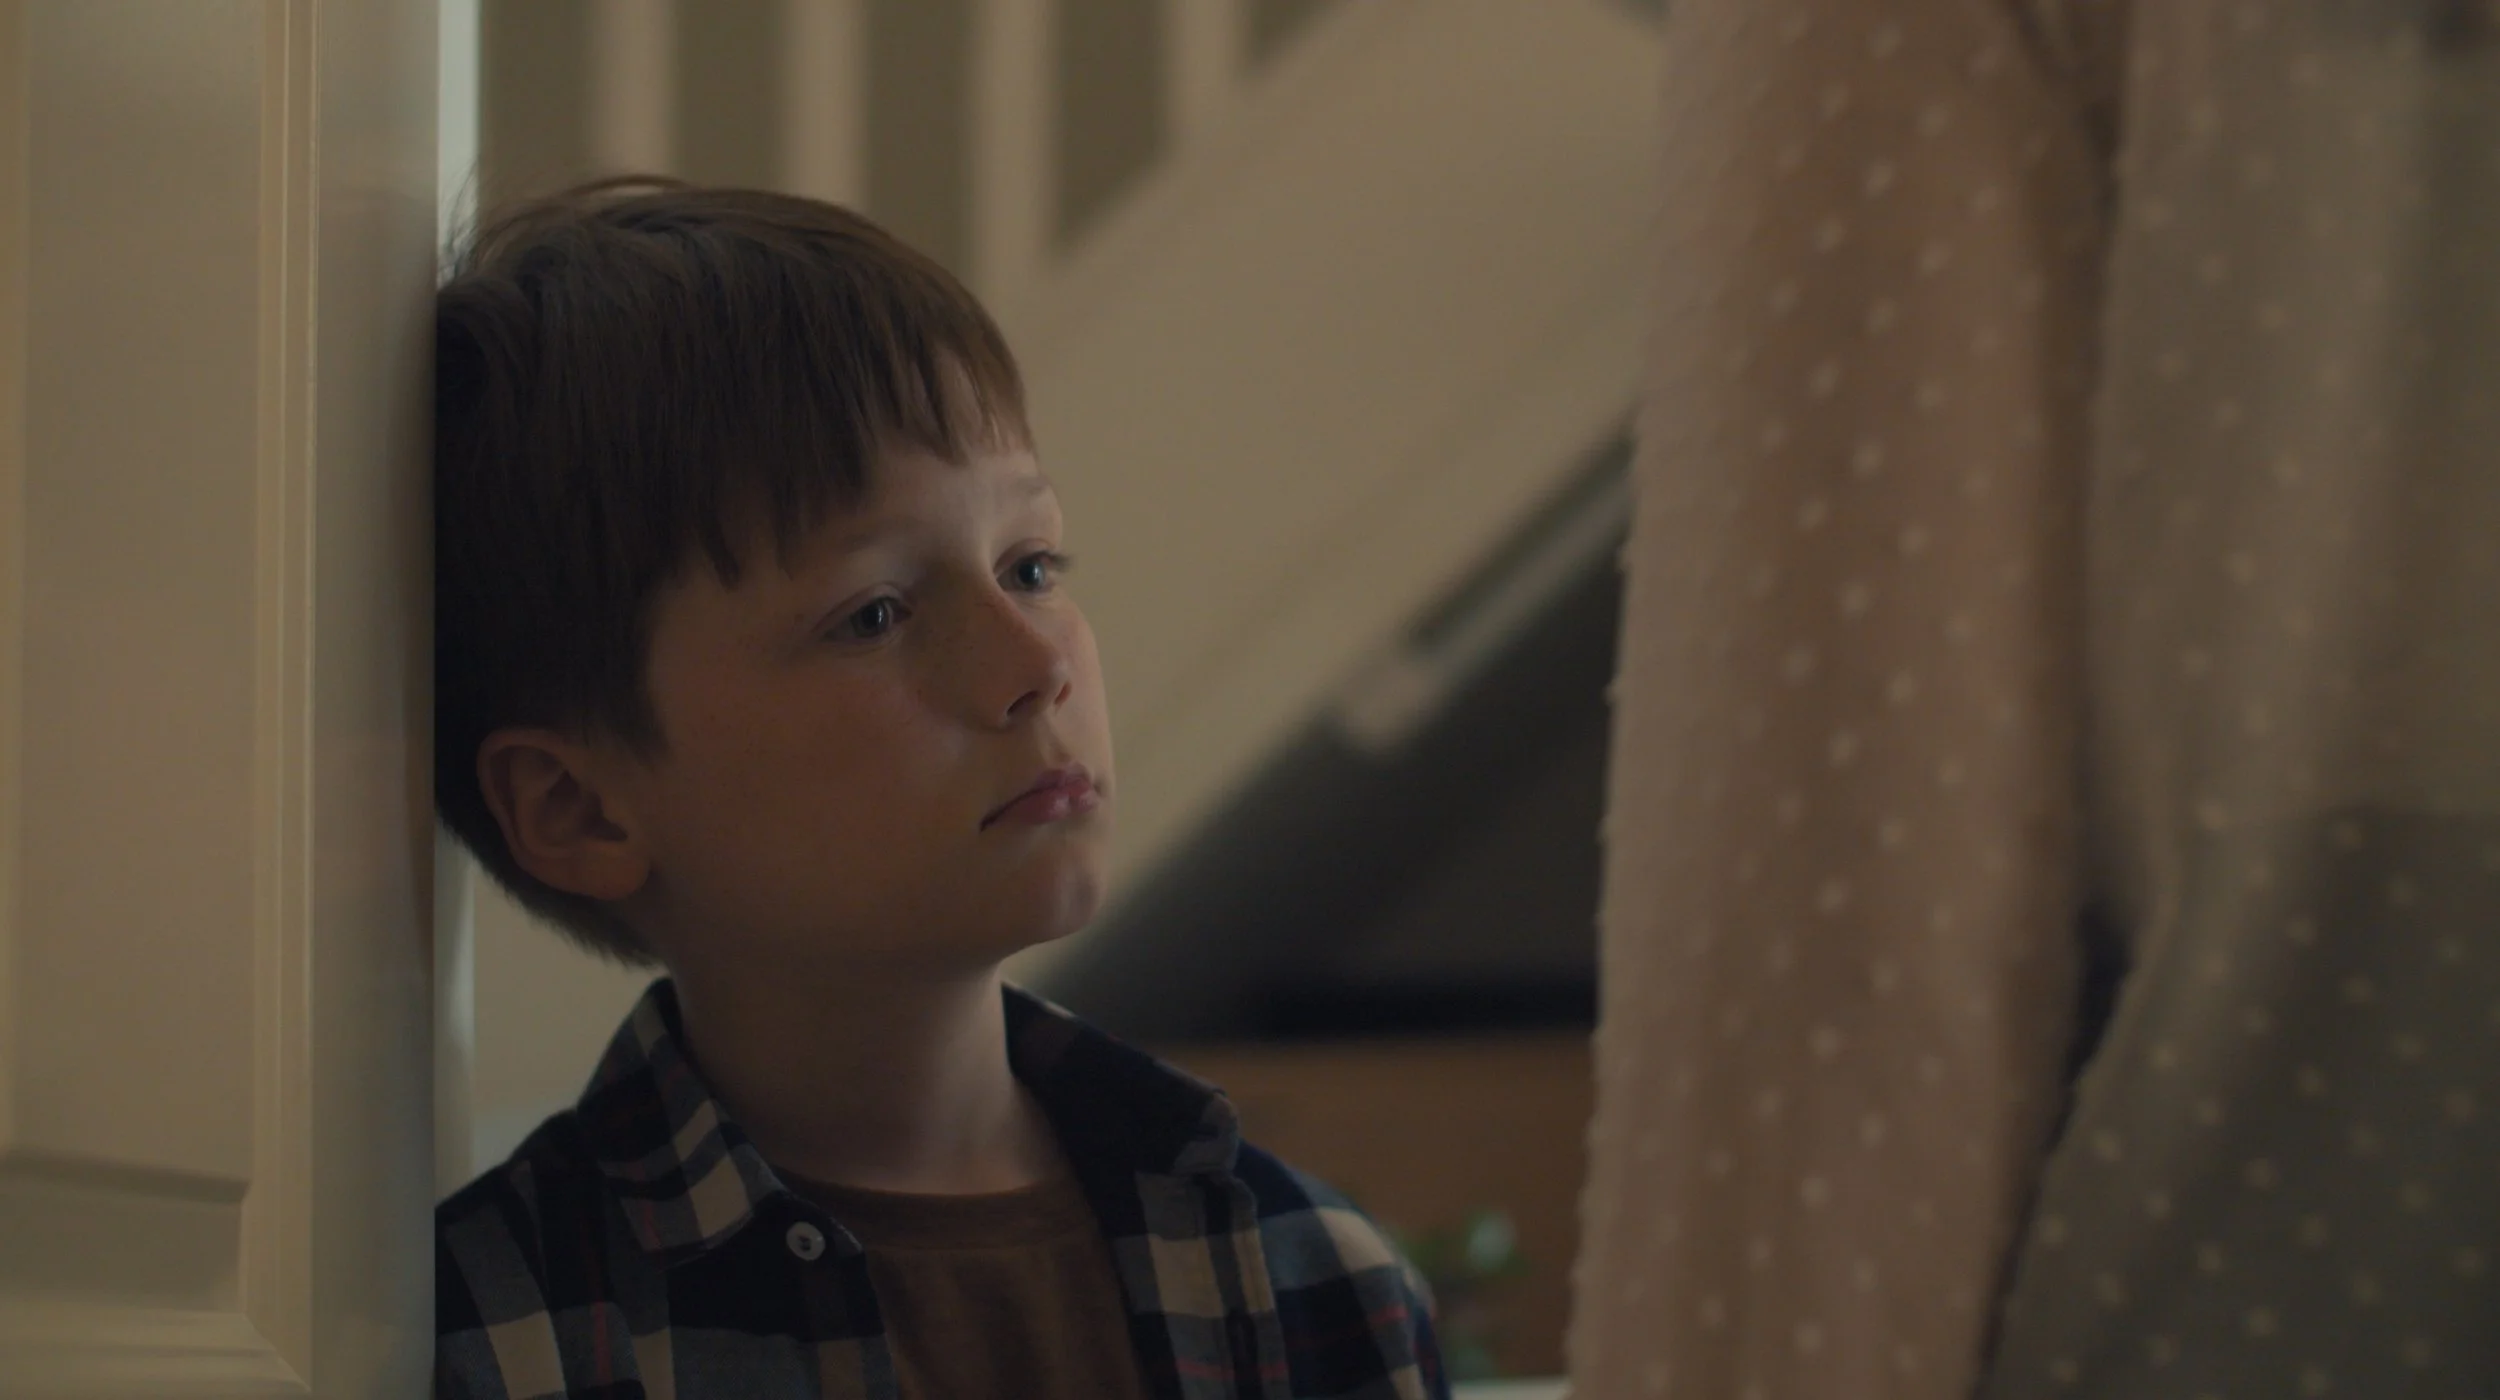
Natural Light Mastery: Working with the Sun
Harnessing natural light brings a warmth and realism that’s hard to replicate artificially. The golden hour, the first and last hour of daylight, adds soft tones ideal for interviews and lifestyle content, while blue hour offers a cinematic calm perfect for reflective or emotional storytelling.
Managing sunlight, however, requires precision. Midday brightness can be harsh, so diffusion panels, reflectors, or window sheers help balance exposure and preserve texture. Indoors, daylight mixed with ambient light from bulbs creates subtle, natural variety.
For production teams across Scotland, using sunlight well means planning ahead, tracking the sun’s position, adjusting timing, and preparing modifiers. The result feels authentic and alive, even in commercial video production.
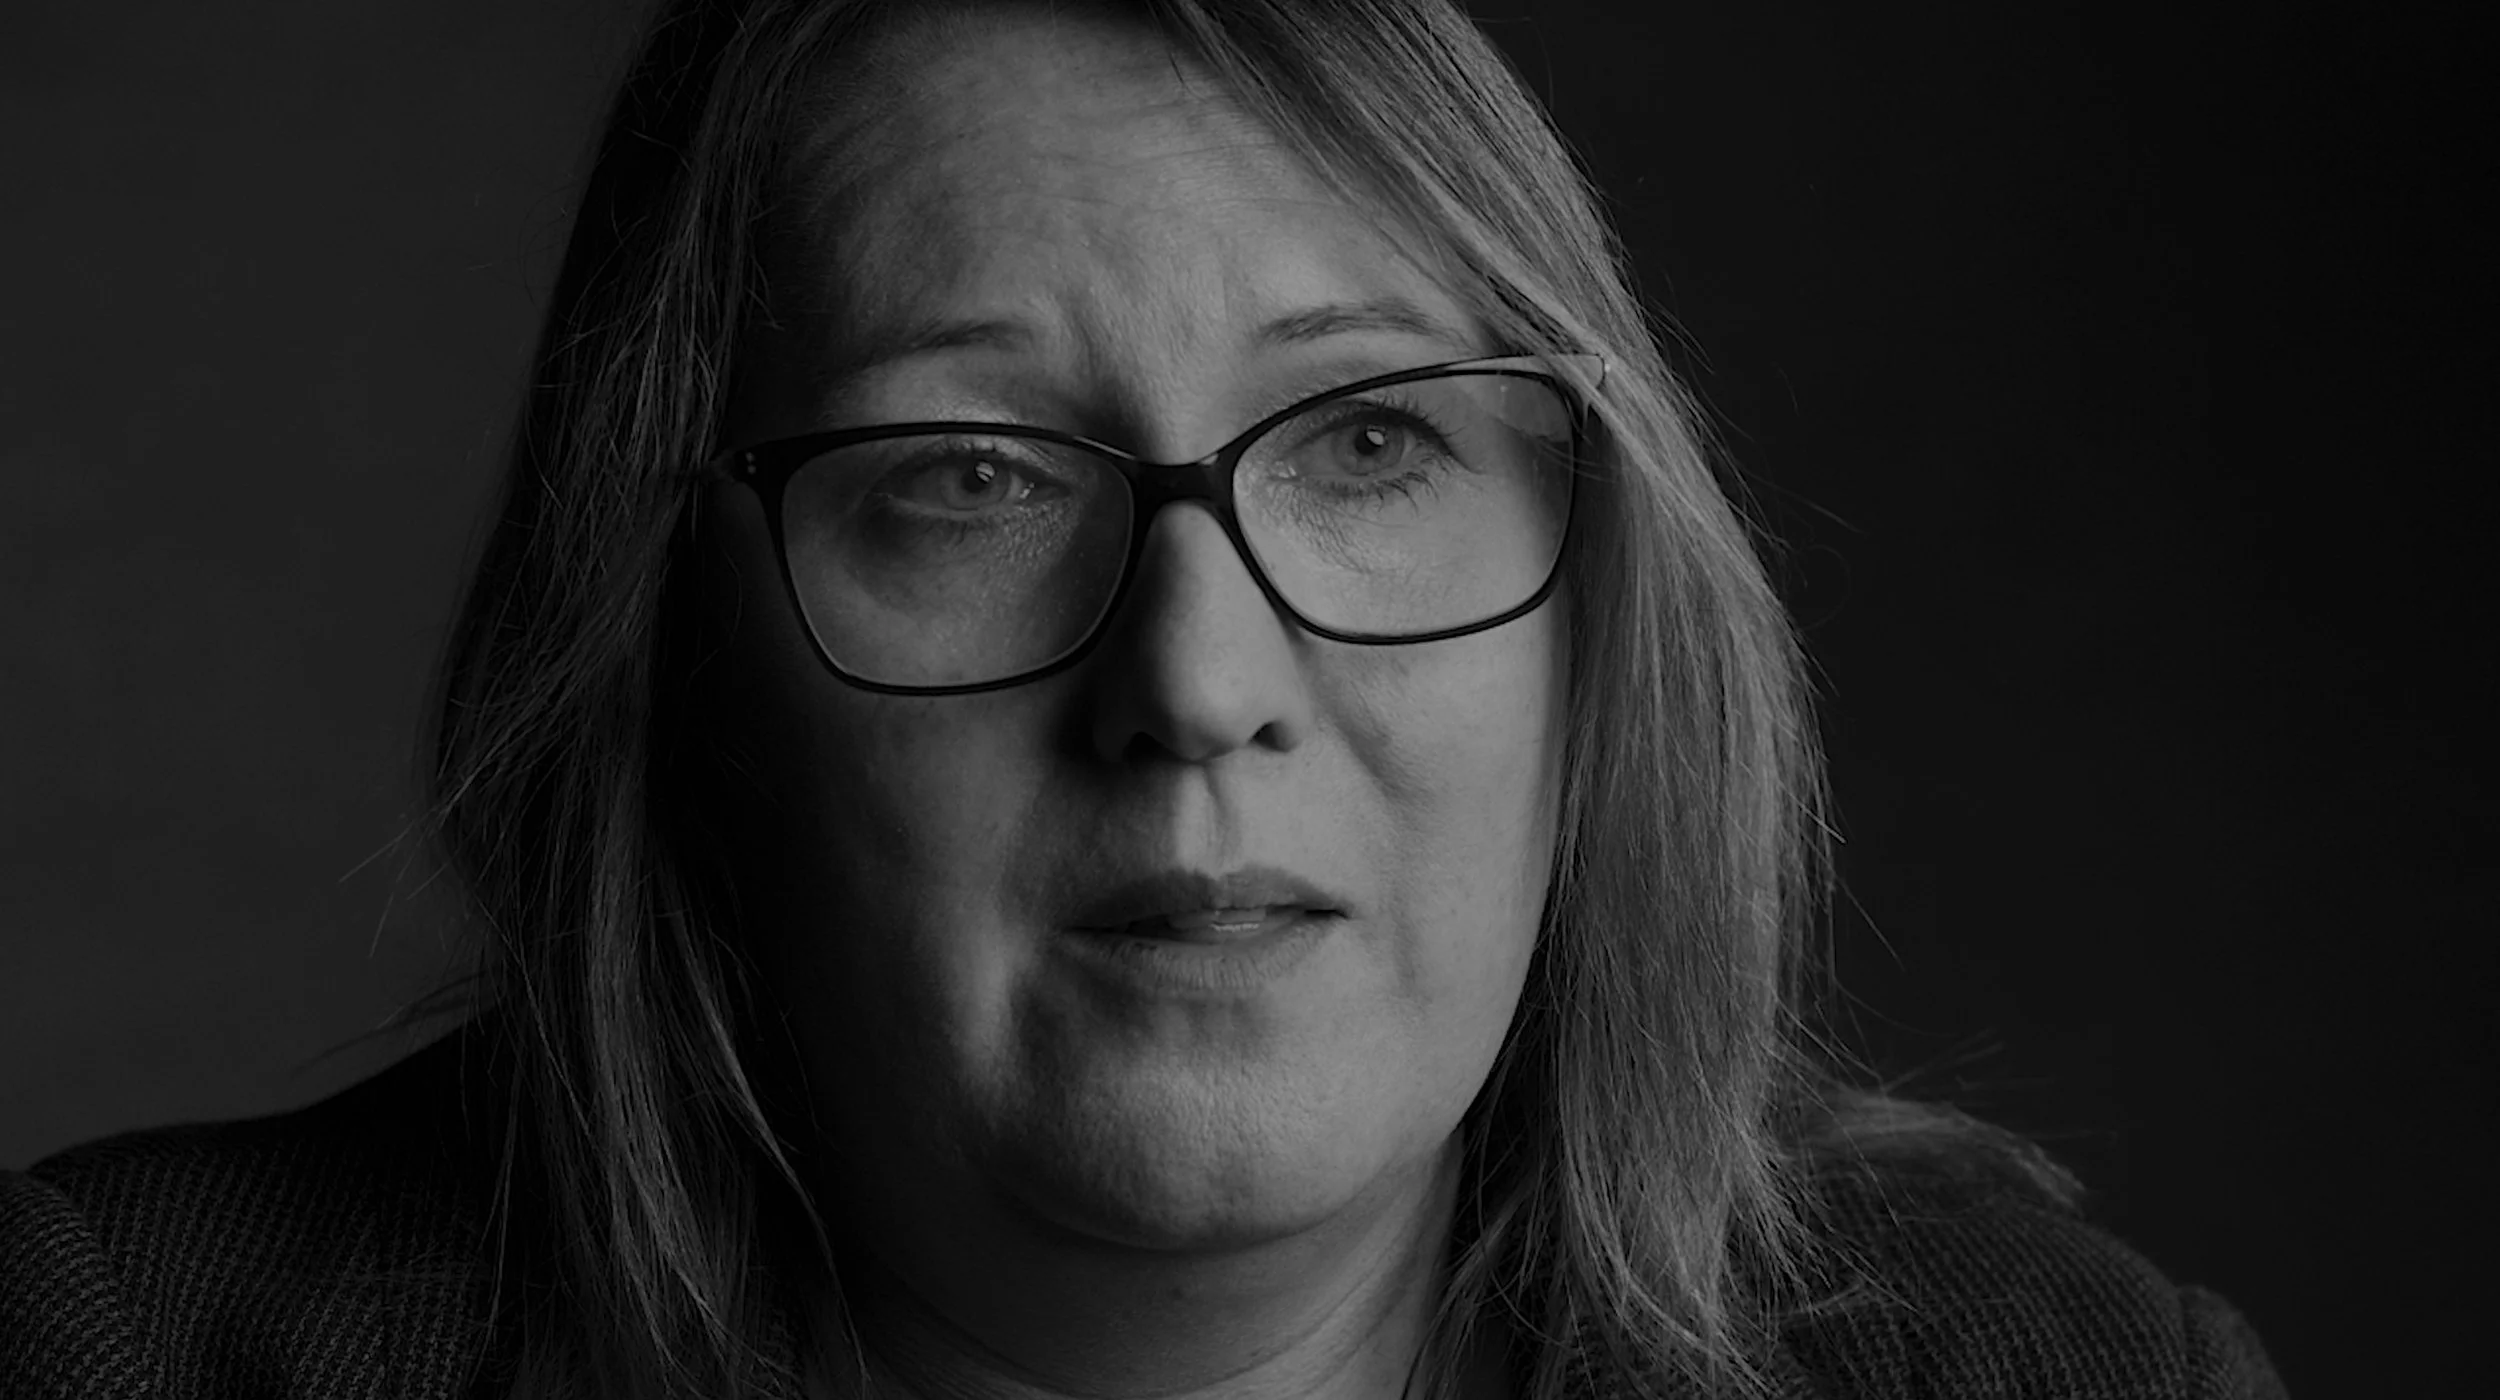
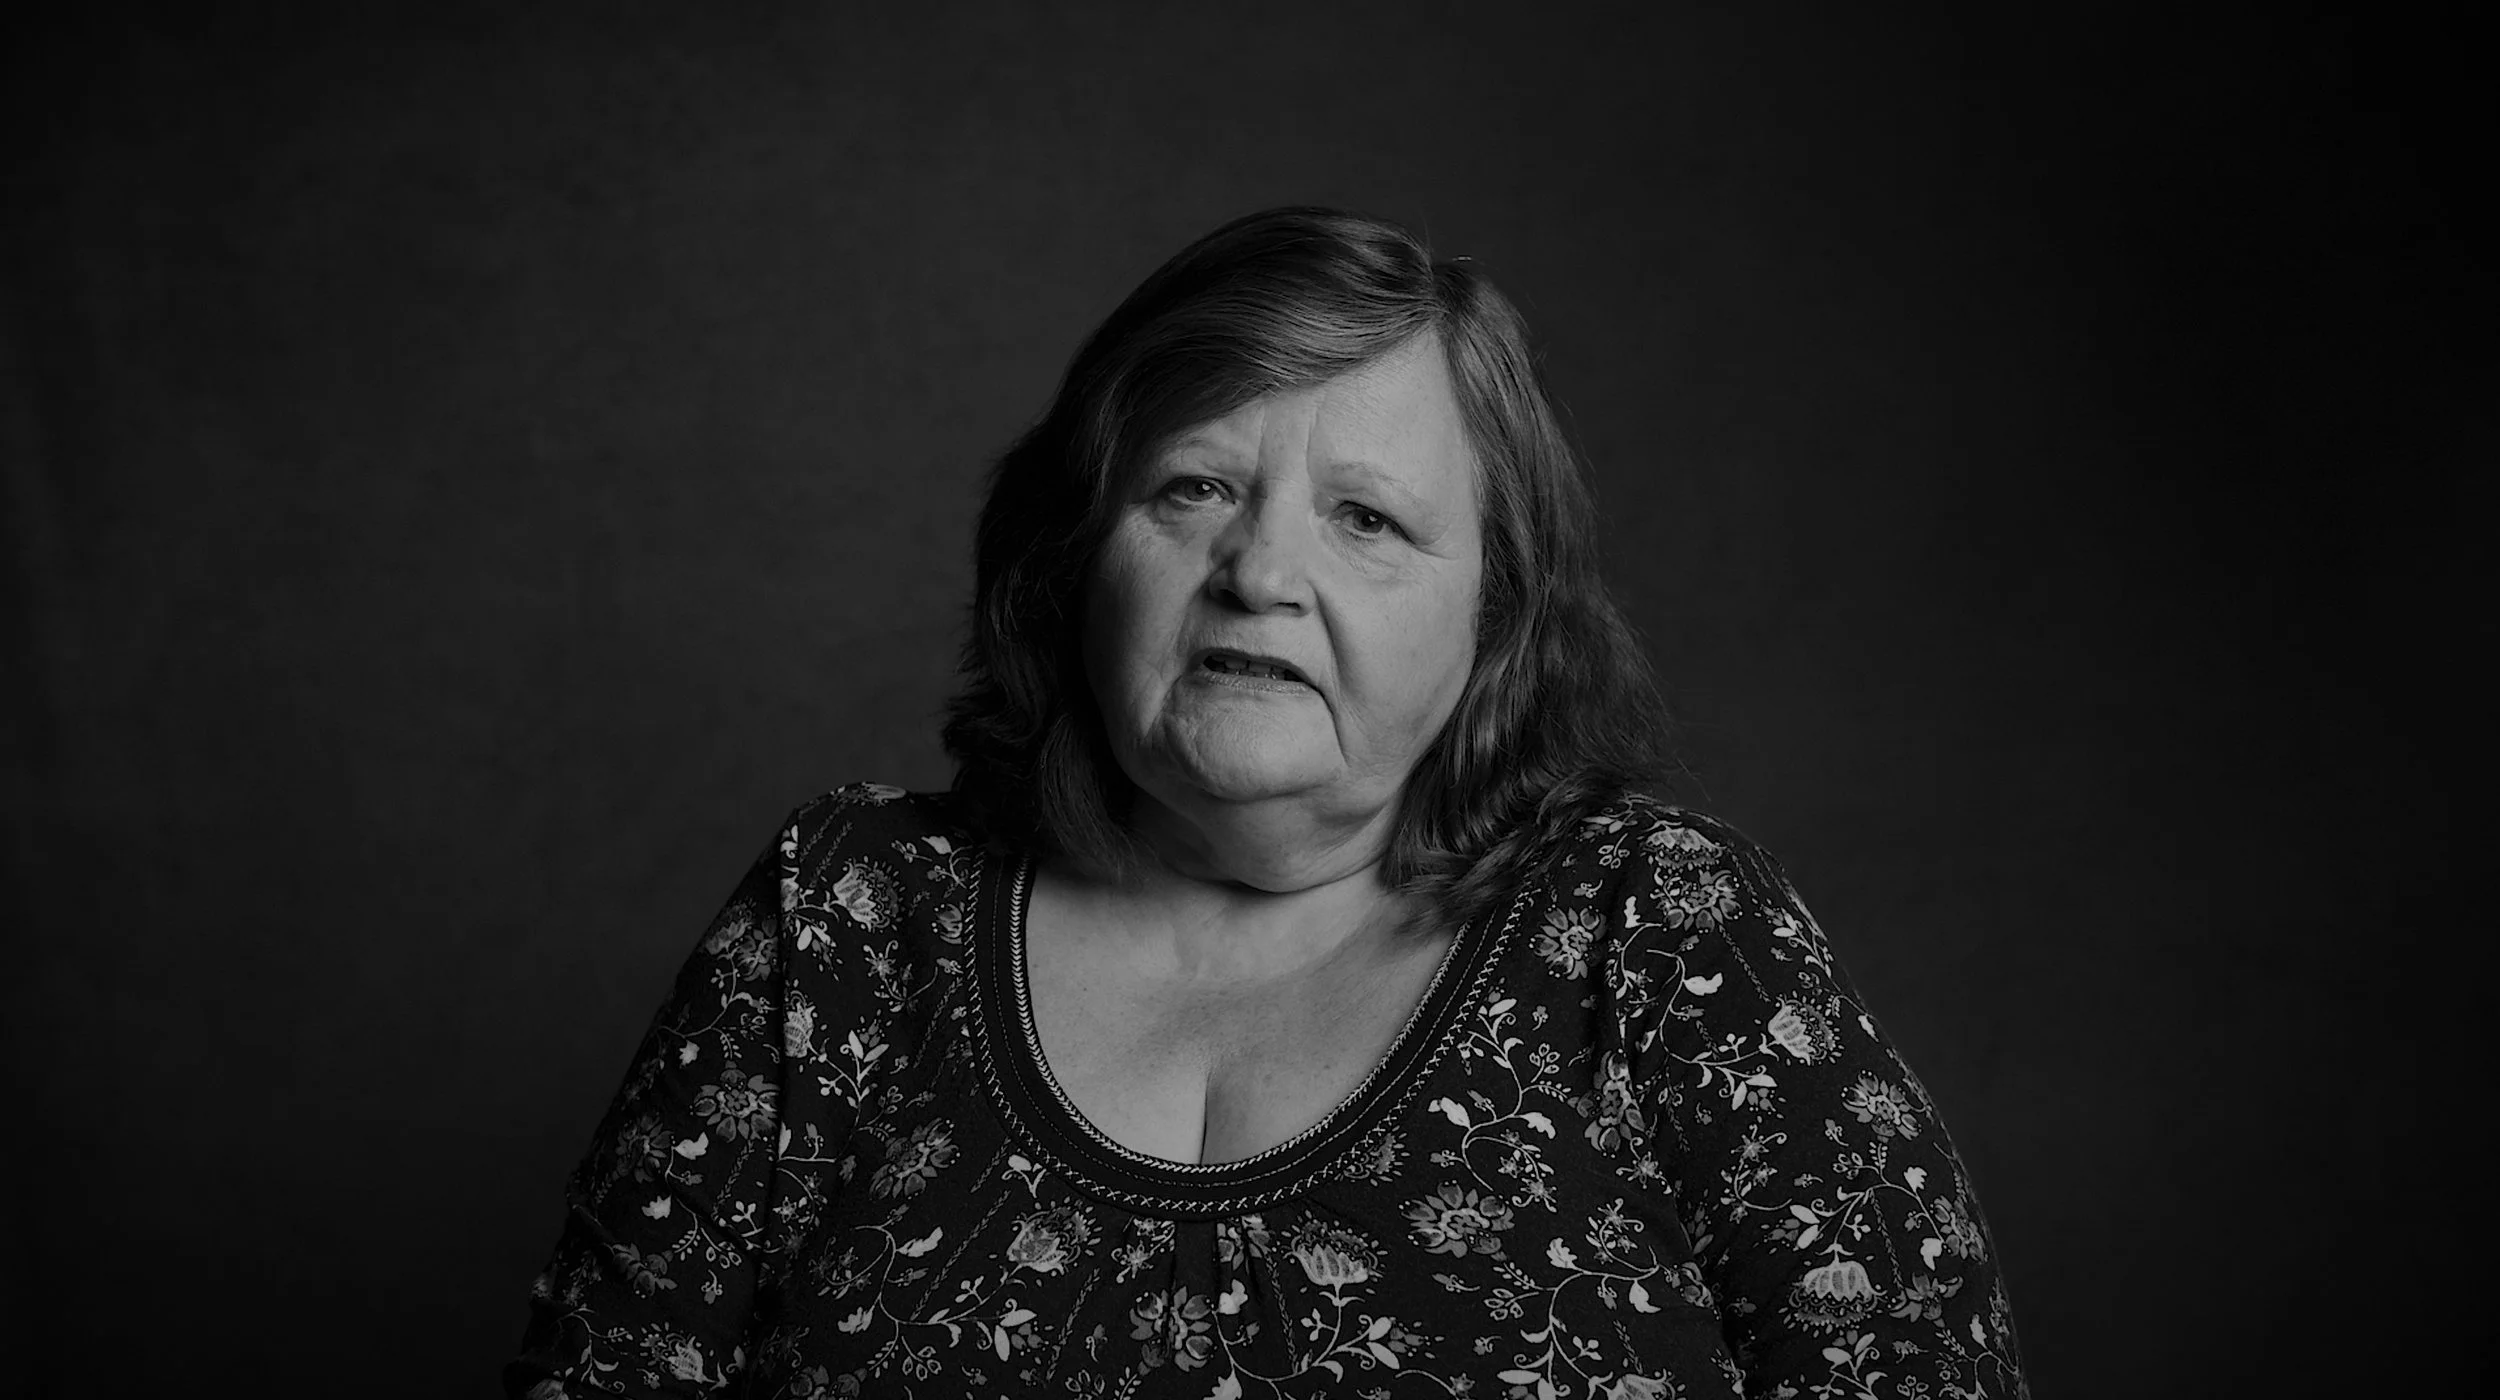
Using Shadows Creatively
Lighting isn’t only about what you reveal, it’s also about what you hide. Shadows add tension, emotion, and mystery. They guide the eye and turn a flat image into something layered and expressive. Used intentionally, darkness becomes as powerful as light.
Cinematic techniques like Rembrandt or split lighting create striking contrasts, often used in interviews, documentaries, and character-driven pieces. Flags and “negative fill” help deepen tone on one side of the face, sculpting features and creating mood.
For branded content or corporate films, subtle shadow work can make a story feel more intimate and dramatic. Our portfolio showcases how carefully controlled contrast transforms tone and atmosphere without saying a single word.
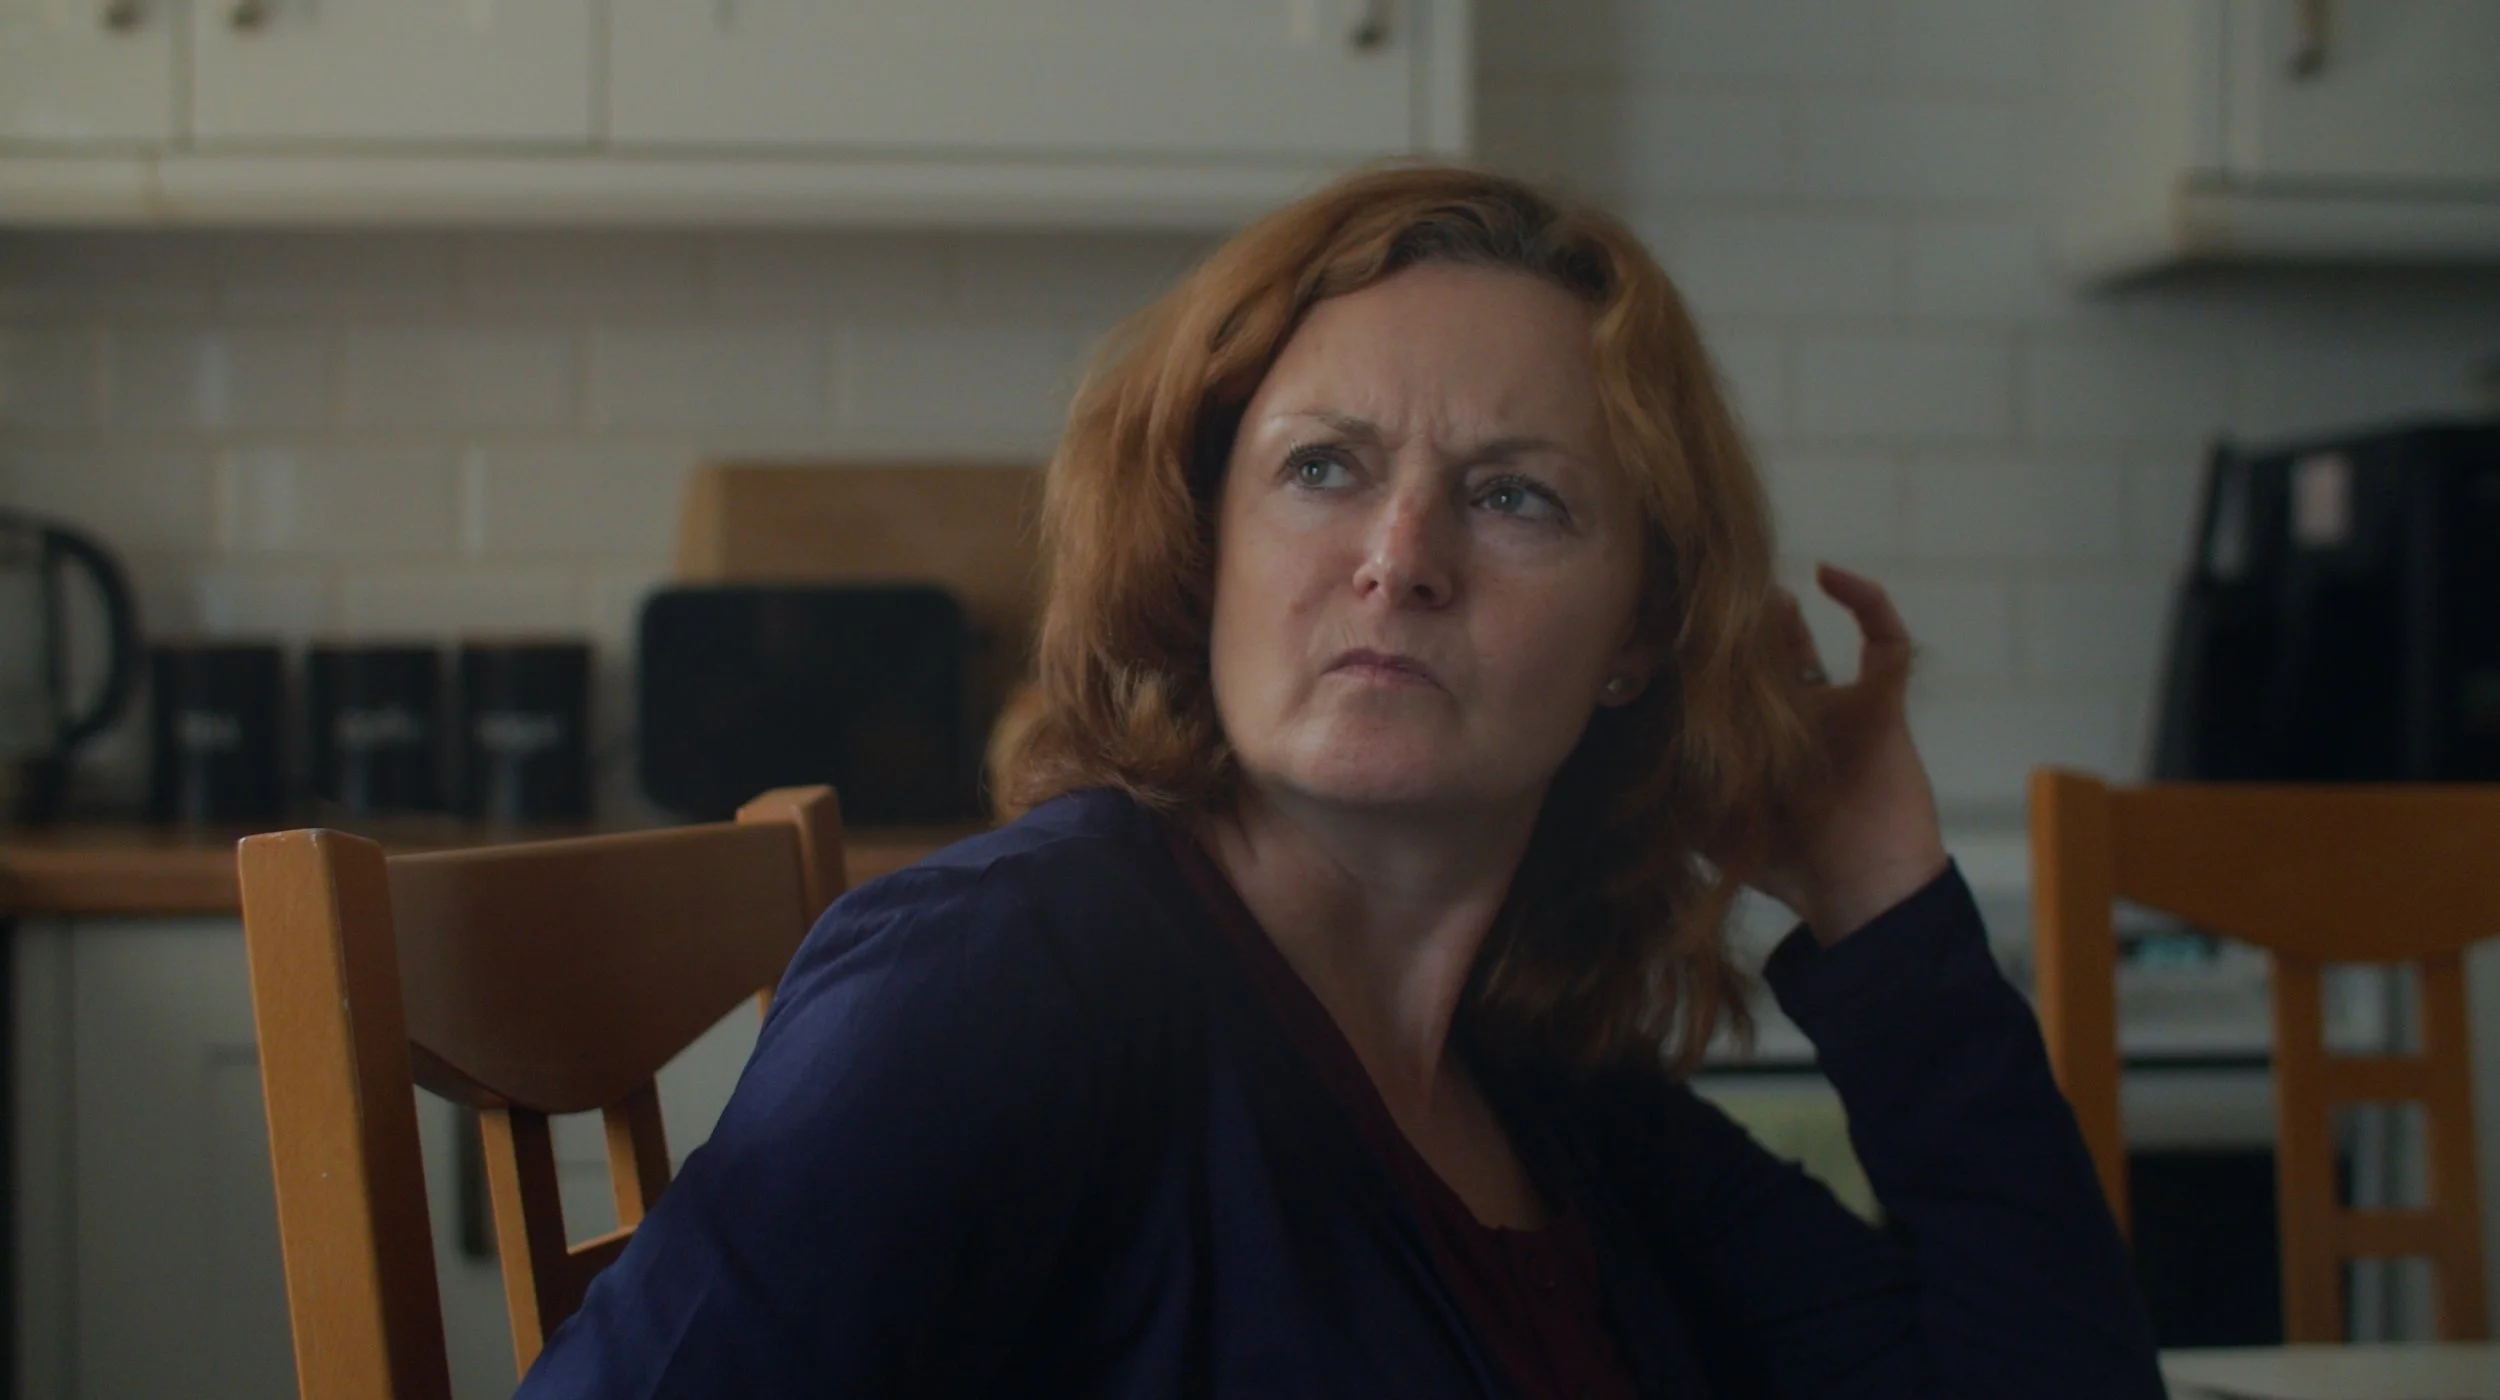
Soft vs. Hard Light: Mood and Texture
Light quality changes everything. Soft light, produced with diffusion panels, bounce boards, or softboxes, wraps around a subject, creating flattering, gentle transitions. It reduces harshness, smooths texture, and builds warmth, ideal for people-focused films and interviews.
Hard light, by contrast, is sharp and defined. It carves out detail, adds intensity, and can heighten drama. It’s perfect for high-contrast shots or product showcases that need clarity and power.
Skilled lighting design often blends both. A soft key light might be paired with hard background accents to create texture and dimension. For Glasgow-based brands seeking cinematic style, mixing light types allows tone and emotion to evolve within a single frame.
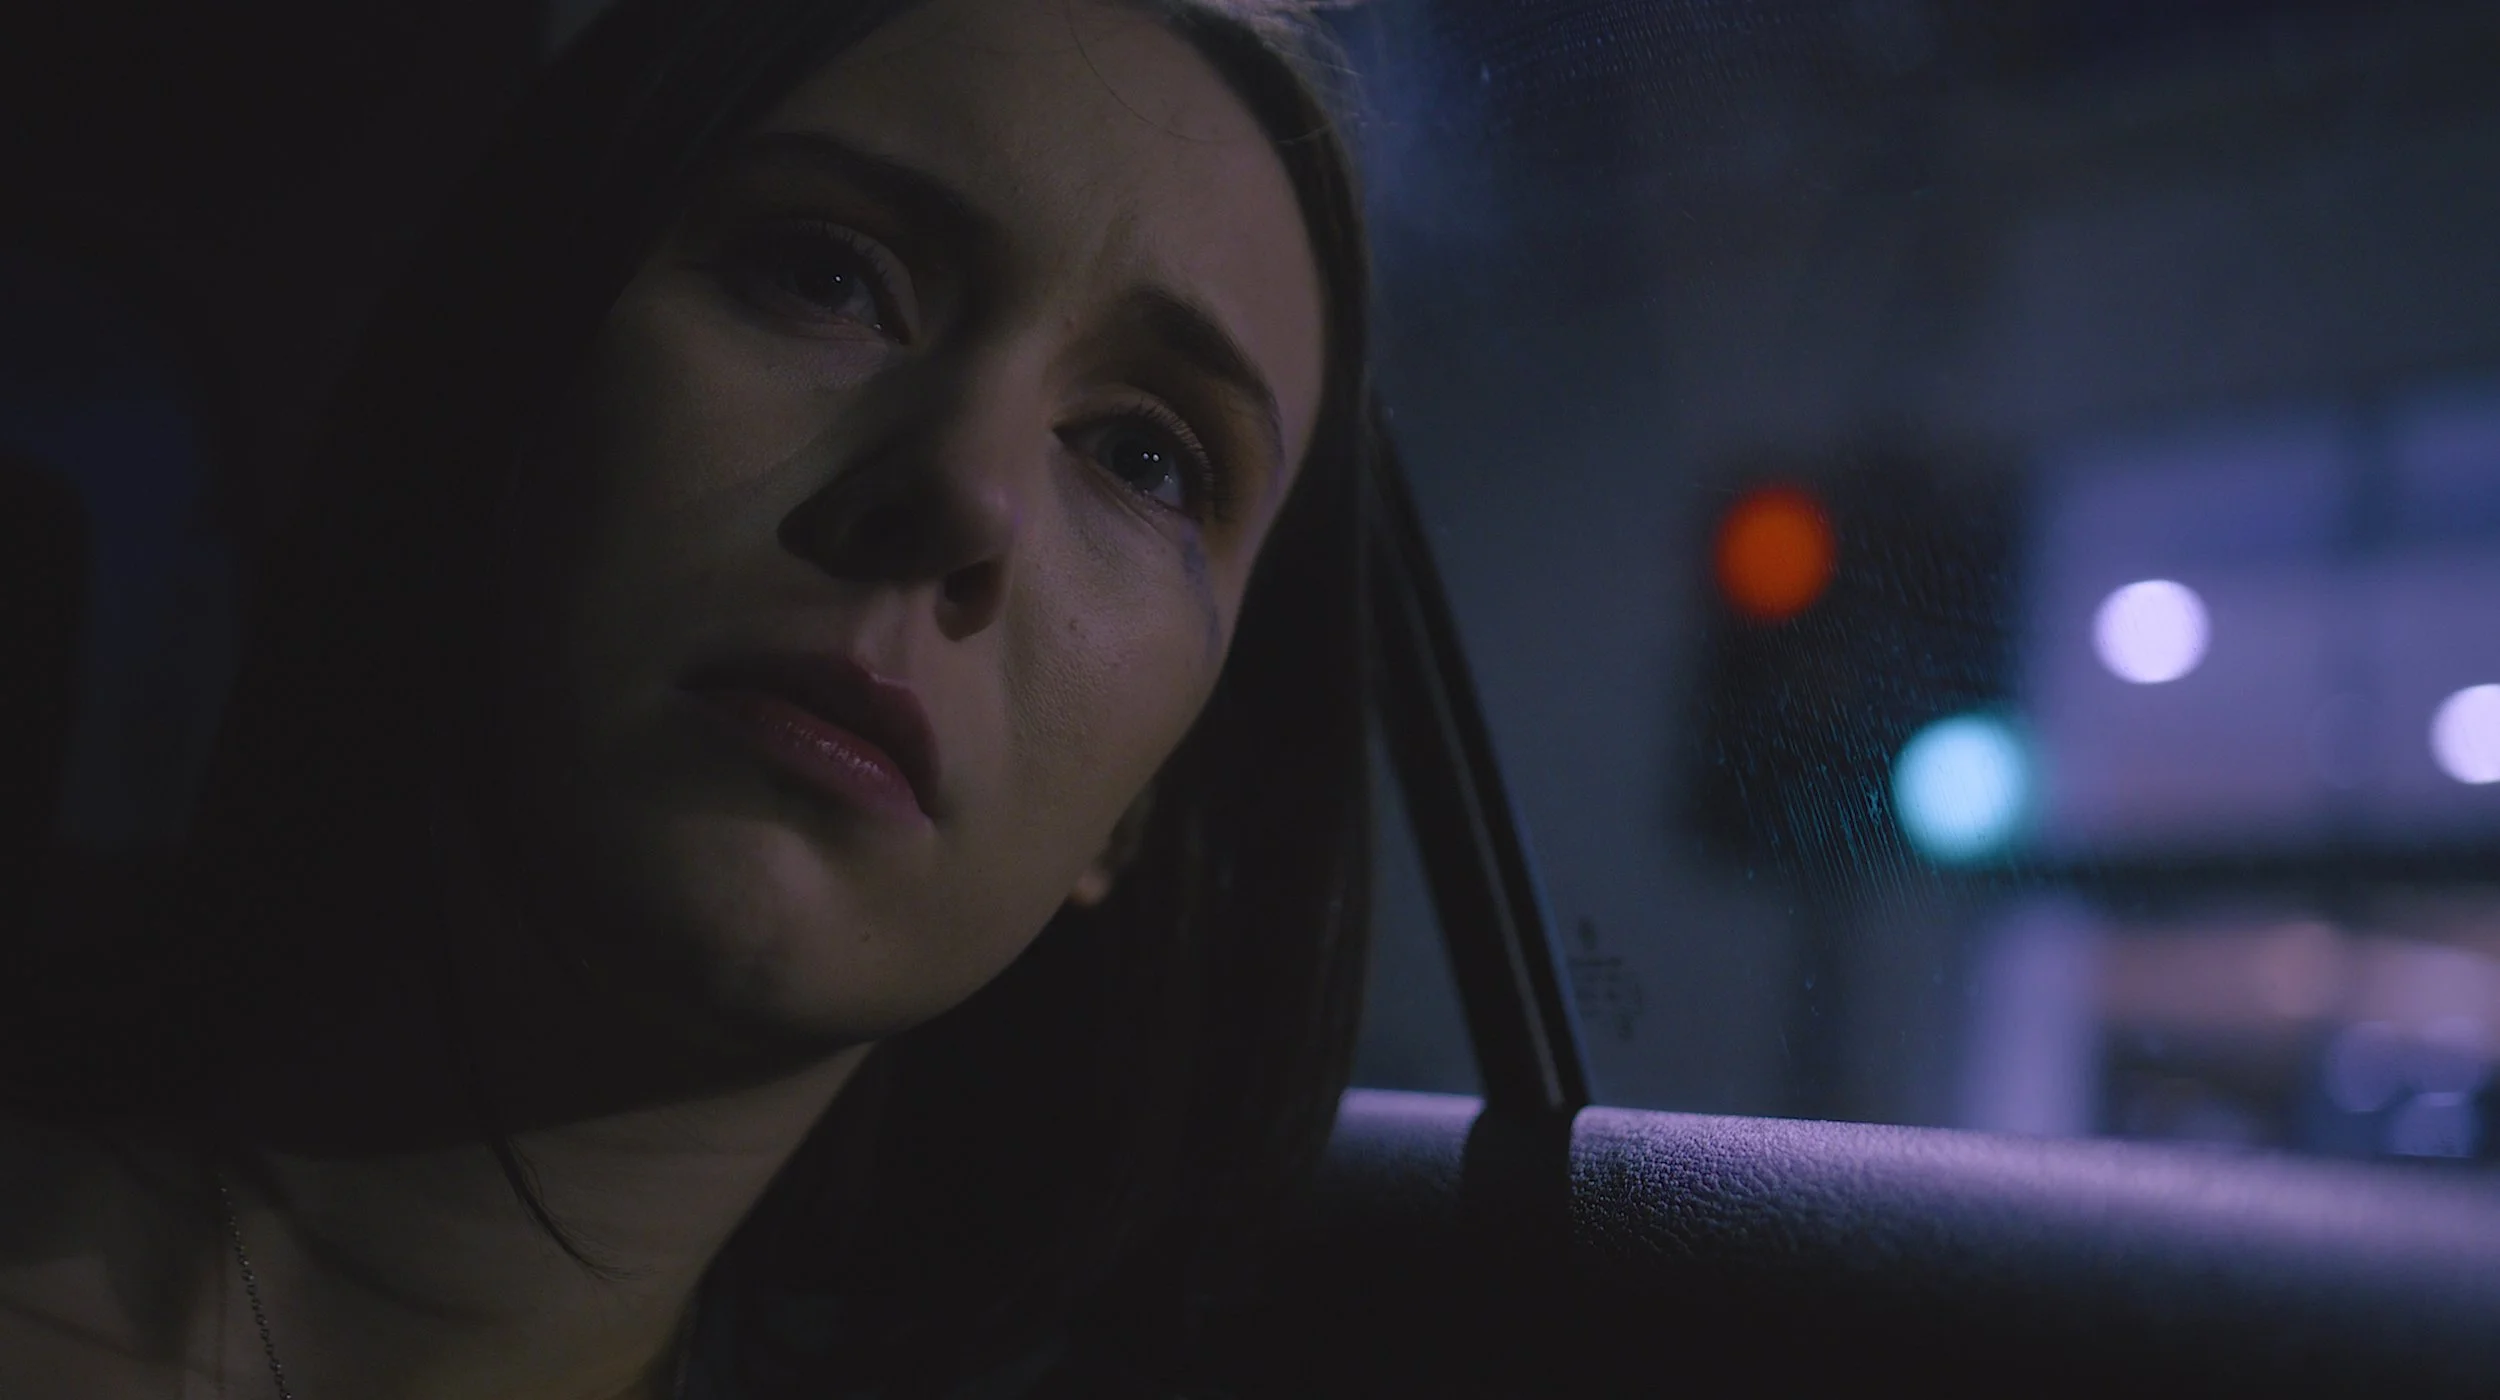
Practical Lights & Motivated Sources
Practical lights, lamps, screens, candles, even neon signs, add realism and depth. They justify illumination within the frame and subtly direct the viewer’s attention. When used intentionally, they blend creative design with natural storytelling.
Motivated lighting builds on this principle. A visible source explains the light in the scene, for example, a desk lamp driving a warm key or a glowing monitor creating a cool fill. Matching colour temperatures between practicals and set lighting ensures cohesion and believability.
These choices help videos feel genuine and immersive. They’re especially powerful in branded content and corporate environments, where authenticity and warmth create trust with the audience.
Lighting for Movement & Continuity
When cameras or subjects move, lighting must adapt seamlessly. Wide, soft sources and mobile LED fixtures ensure consistency as the action shifts. Wireless dimmers and battery-powered lights allow real-time adjustments during tracking or handheld shots, maintaining exposure without breaking momentum.
For multi-day shoots, detailed notes on colour temperature and light ratios ensure continuity between setups. This precision keeps edits smooth and professional, even when scenes are filmed days apart.
At Reverie Films, our process accounts for motion and lighting continuity at every stage. It’s how we maintain cinematic quality in dynamic projects, from interviews and events to complex brand campaigns filmed across multiple locations.
Conclusion
Lighting defines the tone of a story before a single word is spoken. It shapes how audiences perceive emotion, quality, and brand identity. For Glasgow and Scottish businesses investing in professional video production, understanding light isn’t just technical; it’s strategic. At Reverie Films, we combine technical mastery with creative intuition to shape every scene intentionally.
Whether working with natural light or full studio setups, we build atmosphere and emotion through precision. Ready to create something cinematic? Get in touch to see how we can bring your next film to life through light, tone, and storytelling.